The Complete Guide to Pigeon Proofing Solar Panels
A plain-English guide to how solar panel bird proofing works, the methods available, what happens during installation and the results you can expect.
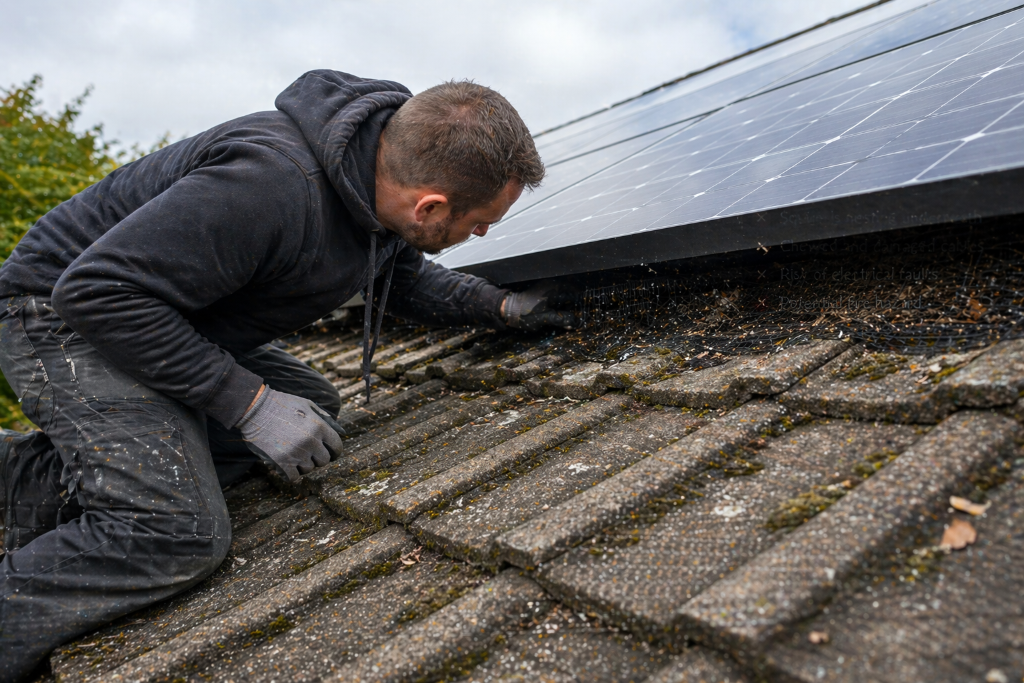
Table of contents
Pigeons love solar panels. The warm, sheltered gap beneath an array makes an almost perfect nesting spot, and once a pair move in they tend to return year after year. That is good news for the birds but bad news for your panels, your roof and your peace and quiet. This guide explains how solar panel bird proofing works, the methods available, what happens during a typical installation and the results you can reasonably expect.
Why pigeons are drawn to solar panels
Solar panels create a micro-environment that suits feral pigeons perfectly. The underside of the array stays a few degrees warmer than the surrounding roof, it is sheltered from rain and wind, and it is well above ground predators. Pigeons are also creatures of habit: a pair that nests successfully under your panels one spring will usually try to return the following year.
The problem is what they leave behind. Nesting material, feathers and droppings build up under the panels and around your roof, gutters can become blocked, and in some cases wiring can be damaged. Over time this can create a hygiene issue and, in worst cases, a genuine maintenance cost.
How solar panel bird proofing works
The principle is simple: seal the gap beneath the panels so birds cannot get underneath to nest, while still allowing air to flow around the array for cooling. Done properly, this stops new birds moving in and encourages any existing residents to move on.
The most effective approach uses a fitted mesh that runs around the full perimeter of the array, shaped to follow the profile of your roof tiles. Crucially, the mesh is attached to the panel frames using specialist clips rather than screwed or drilled into anything — so your panels and your roof are not altered in any way.
Methods of pigeon proofing
Mesh fitting
A galvanised or stainless steel mesh is the most widely recommended method for solar panels. It is durable, weather-resistant and, when fitted neatly in a dark colour, virtually invisible from ground level. Mesh provides a complete physical barrier rather than just a deterrent, which is why it is our preferred solution for most homes.
Bird spikes
Spikes can be useful in certain situations — on ledges, beams or specific perching points — but they are not normally the right answer for the gap beneath a solar array. Spikes stop birds landing on a surface; they do not seal an enclosed space. We cover the comparison in more detail in our article on solar panel mesh vs bird spikes.
Other deterrents
Ultrasonic devices, reflective tape and plastic birds of prey are sometimes sold as pigeon deterrents. In our experience these are unreliable for solar panels. Pigeons are quick to learn that a static plastic owl is harmless, and ultrasonic range is limited. A physical barrier is the only long-term solution that consistently works.
The installation process
A typical bird-proofing installation follows a clear sequence:
- Inspection — we check the array, look for signs of active nesting, and assess roof access.
- Removing existing nests — where birds are present we carefully clear nesting material and droppings, taking care around any active nests (see our guidance on the law around removing pigeon nests).
- Cleaning — where included, the panel surfaces are cleaned to remove baked-on guano and restore efficiency.
- Measuring and shaping mesh — the mesh is cut and formed to follow your specific roof tile profile.
- Securing with clips — the mesh is clipped to the panel frames around the full perimeter with no gaps.
- Final checks — we inspect every edge to make sure there are no entry points left open.
Most standard homes are completed in a single visit, often within a few hours. You can read a fuller breakdown in our article on what happens during an installation.
What results to expect
Once the mesh is fitted, new birds cannot get underneath the panels to nest. Any pigeons that were in residence will be unable to return and will eventually move elsewhere. You should notice a reduction in noise, no new droppings appearing on your roof or patio, and an end to the debris washing into your gutters.
The mesh itself is designed to be discreet. From ground level a well-fitted black or galvanised mesh is extremely difficult to see, and it does not interfere with panel cooling or output.
Keeping the protection working
Mesh is low maintenance, but it is worth having the array checked if you have any roofing work done afterwards — a roofer lifting panels can sometimes leave a gap. If you ever notice pigeons attempting to gain access again, a quick inspection is usually all that is needed.
Key Takeaways
- ✓Pigeons nest under solar panels for warmth, shelter and safety, and tend to return each year.
- ✓Fitted mesh sealed around the full array is the most reliable long-term solution.
- ✓Good installations use clips, not drilling, so your panels and roof are not damaged.
- ✓Most homes are completed in a single visit with no scaffolding required.
- ✓A properly fitted barrier stops new birds moving in and encourages existing ones to leave.
- ✓If pigeons are causing problems under your panels, [get a free quote](/instant-guide) or take a look at the [areas we cover](/areas) to see how we can help.
Last updated: 19 July 2026
Frequently Asked Questions
Are pigeons nesting beneath your solar panels?
Contact Worcestershire Solar Bird Proofing for friendly advice and a no-obligation quotation. Permanent, warranty-safe protection from your local specialist.
10-year workmanship guarantee · Fully insured · No drilling, no scaffolding
Related Articles
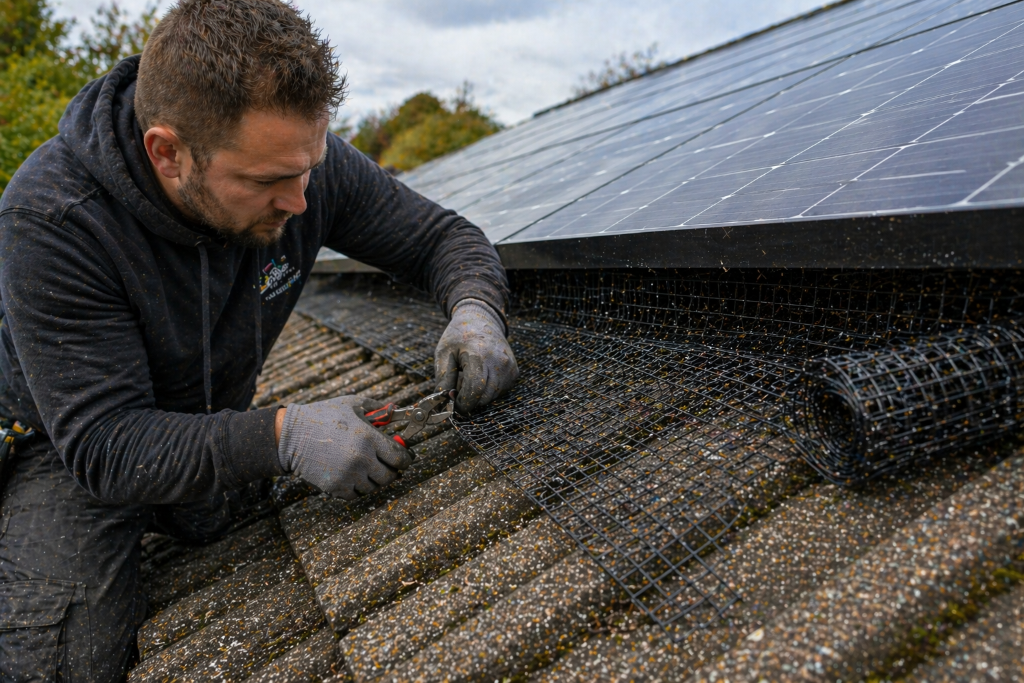
What Happens During a Solar Panel Bird-Proofing Installation?
From inspection and clearing nests to measuring, clipping and final checks — here is exactly what happens during a solar panel bird-proofing installation.
Solar Panel Pigeon Proofing in Worcestershire: A Homeowner's Guide
A homeowner's guide to solar panel pigeon proofing across Worcester, Droitwich, Malvern, Redditch, Bromsgrove, Kidderminster, Evesham and surrounding areas.
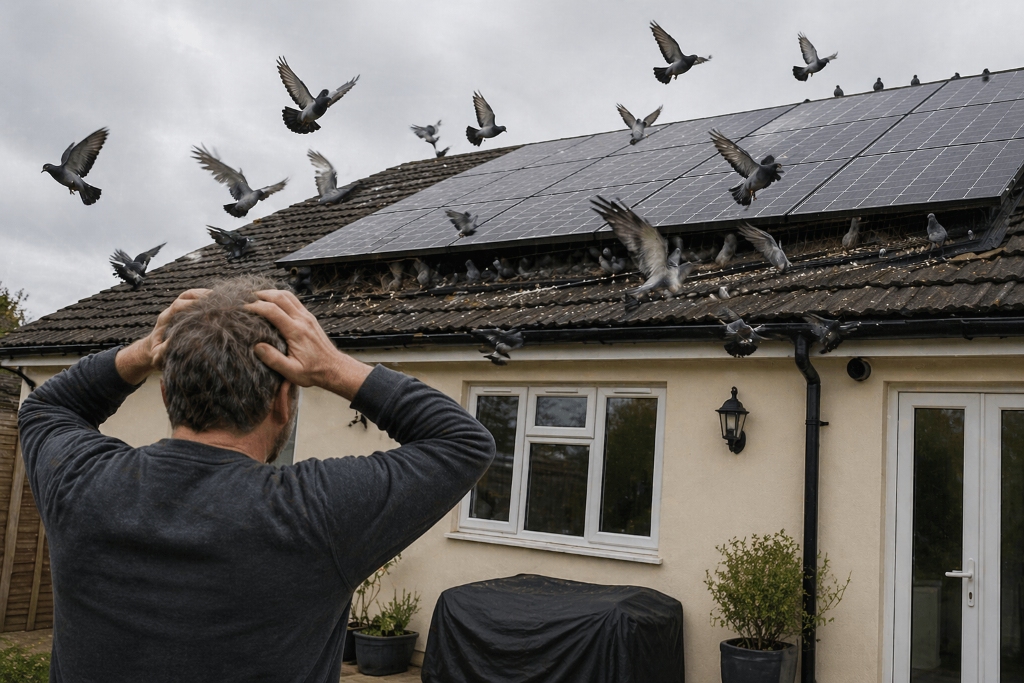
Why Pigeons Keep Returning to Solar Panels
Pigeons keep coming back because the space under your panels is warm, sheltered and high up. Clearing the mess alone is not enough — here is why.