What Happens During a Solar Panel Bird-Proofing Installation?
From inspection and clearing nests to measuring, clipping and final checks — here is exactly what happens during a solar panel bird-proofing installation.
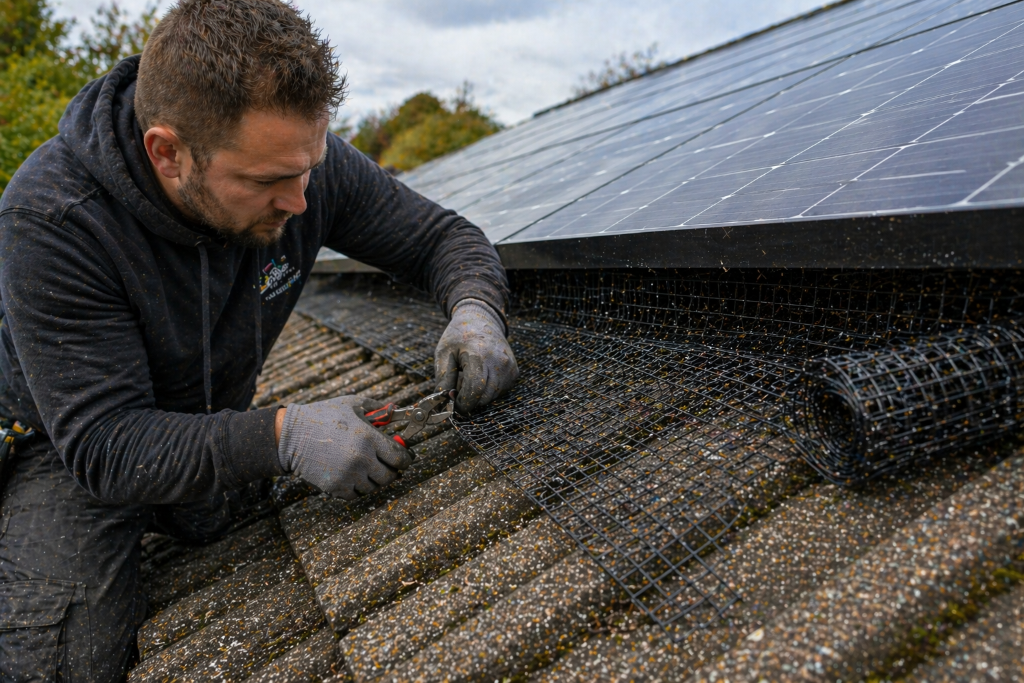
Table of contents
If you have never had bird proofing done before, it is natural to wonder what actually happens on the day. This article walks through a typical solar panel bird-proofing installation from start to finish, so you know what to expect and how to prepare.
Before the visit
Most jobs start with a quote. We assess your roof using aerial imagery where possible, so there is usually no need for a sales visit. Once you are happy to go ahead, we agree a date and give you a clear, all-in price.
On the day, you do not need to do much. We will need safe access to the property and, if you work from home, a heads-up that there will be some movement on the roof for a few hours. You do not normally need to be present throughout, but someone should be available at the start and finish.
Step 1: Inspection and assessment
The installer starts by getting safely onto the roof and taking a close look at the array. This is the inspection stage. We check:
- The full perimeter of the panels for gaps and entry points
- Signs of active nesting — droppings, feathers, nesting material
- The condition of the roof, tiles and any nearby wiring
- How the panels are mounted and where the clips can attach
This matters because no two roofs are identical. Measuring up properly means the mesh will fit neatly with no gaps.
Step 2: Checking for and clearing active nests
If there is evidence of pigeons, we carefully remove nesting material and fouling. This is an important step both for hygiene and so the mesh sits cleanly. Where an active nest is present we take care around it — see our guidance on the law around removing pigeon nests, because active nests with eggs or young are legally protected.
In most cases the nest will be old or the birds will have moved on, and clearing the debris is straightforward.
Step 3: Cleaning (where included)
If you have chosen to add a panel clean, this happens next. Using a professional cleaning solution, the installer cleans the glass surface of each panel to remove baked-on guano and grime. This restores the amount of light reaching the cells and gives you a clean, fresh start. If cleaning is not included, the installer simply clears the nesting debris from beneath the array.
Step 4: Measuring and shaping the mesh
The mesh is then cut and formed to match your specific roof. Every tile profile is slightly different, and the mesh needs to follow the contours closely so there are no gaps at the corners. A neat fit is what keeps birds out and keeps the system looking discreet from the ground.
We use galvanised or stainless steel mesh in a dark finish, which weathers well and is hard to see from below.
Step 5: Securing with specialist clips
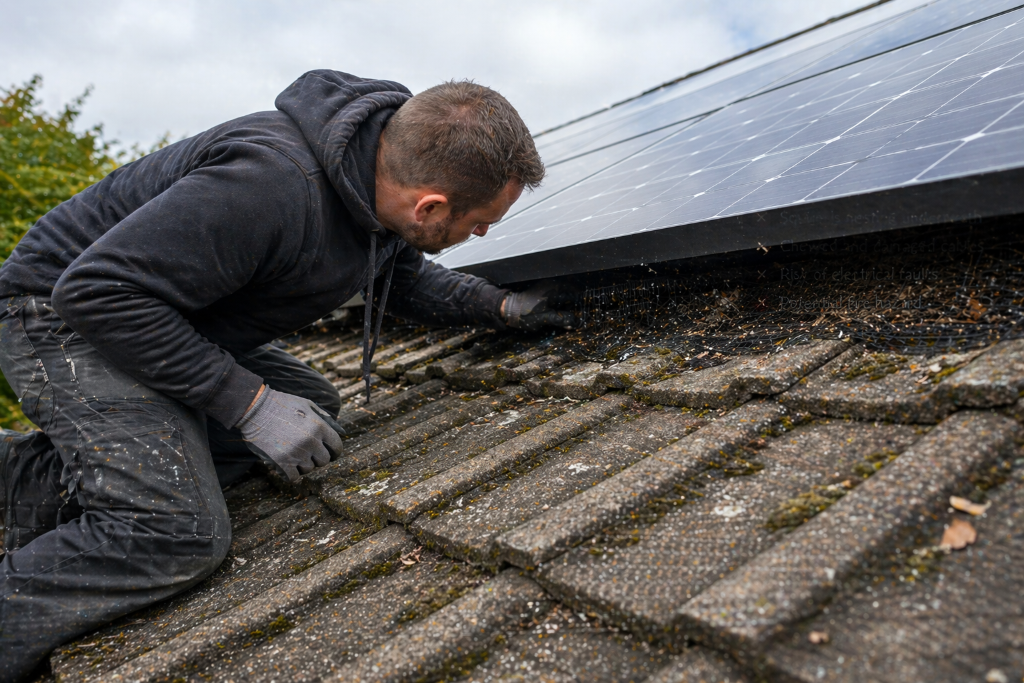
The mesh is clipped to the panel frames around the full perimeter. These clips grip the frame securely without any drilling — so your panels and roof are not altered, and your warranty is not affected. You can read more about why this matters in our article on bird proofing and your warranty.
Every edge is secured. Corners, joins and awkward sections around chimneys or dormers all get the same careful treatment, because a single gap is all pigeons need.
Step 6: Final checks
Before leaving the roof, the installer walks the full perimeter one more time, checking that every edge is sealed and the mesh is firmly clipped. We also tidy any debris that has been cleared from the roof so it does not end up in your gutters.
How long it takes
For a typical home, the whole job is done in a single visit — usually two to four hours depending on the number of panels, roof access and whether cleaning is included. There is no scaffolding to put up and take down, which is one of the reasons the process is so quick.
Key Takeaways
- ✓The job starts with a proper inspection of the full array.
- ✓Existing nests and debris are cleared before mesh goes on.
- ✓Optional panel cleaning restores light and removes fouling.
- ✓Mesh is cut to fit your roof and clipped on without drilling.
- ✓A final perimeter check makes sure no gaps are left.
- ✓Most homes are finished in a single visit, no scaffolding needed.
- ✓Ready to get it done? [Get your free quote](/instant-guide) or check the [areas we cover](/areas).
Last updated: 19 July 2026
Frequently Asked Questions
Are pigeons nesting beneath your solar panels?
Contact Worcestershire Solar Bird Proofing for friendly advice and a no-obligation quotation. Permanent, warranty-safe protection from your local specialist.
10-year workmanship guarantee · Fully insured · No drilling, no scaffolding
Related Articles
The Complete Guide to Pigeon Proofing Solar Panels
A plain-English guide to how solar panel bird proofing works, the methods available, what happens during installation and the results you can expect.
Solar Panel Pigeon Proofing in Worcestershire: A Homeowner's Guide
A homeowner's guide to solar panel pigeon proofing across Worcester, Droitwich, Malvern, Redditch, Bromsgrove, Kidderminster, Evesham and surrounding areas.
Why Pigeons Keep Returning to Solar Panels
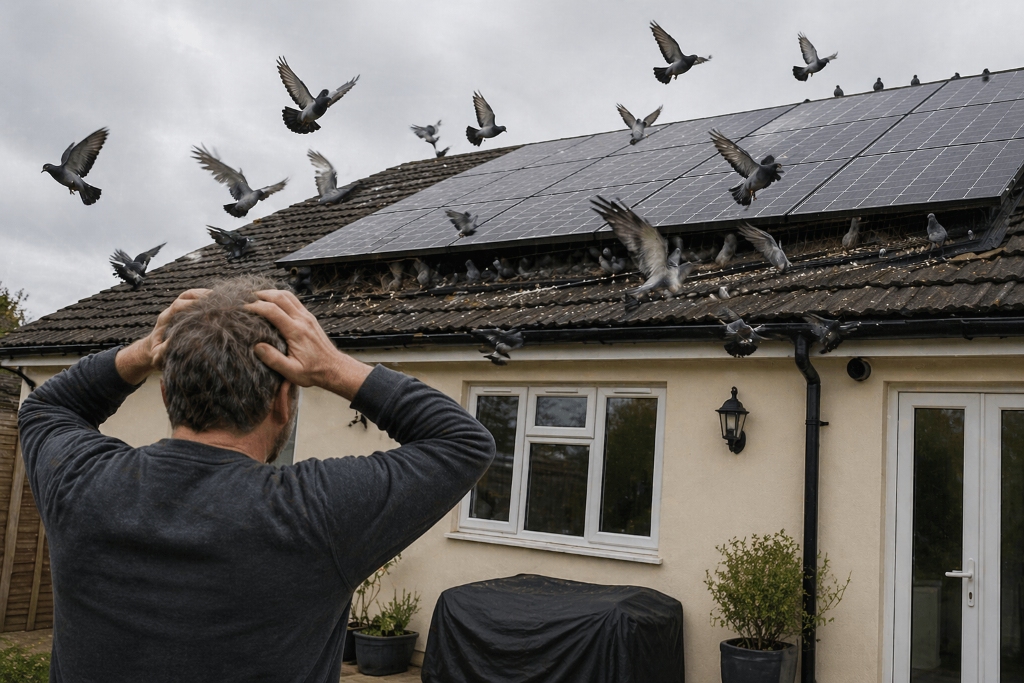
Pigeons keep coming back because the space under your panels is warm, sheltered and high up. Clearing the mess alone is not enough — here is why.